
Last updated November 21, 2026
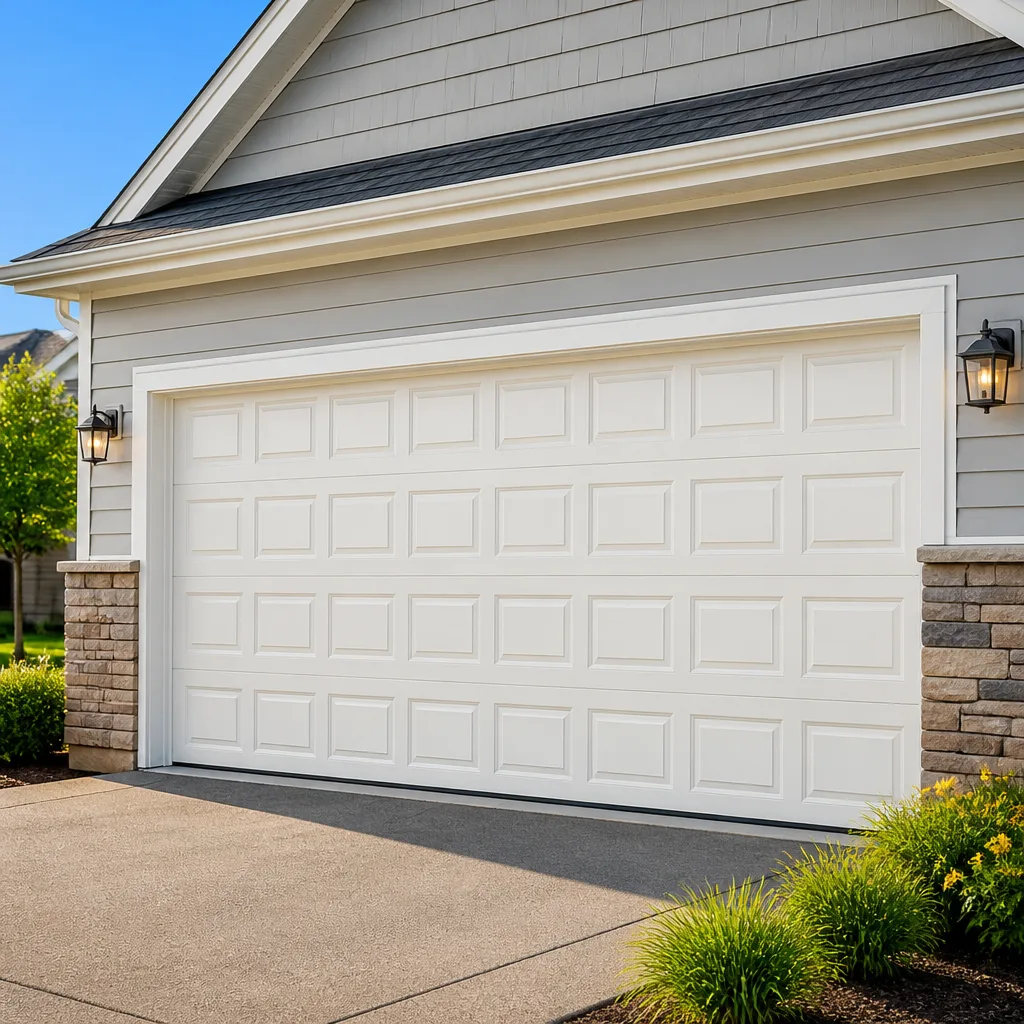 Raised-panel steel
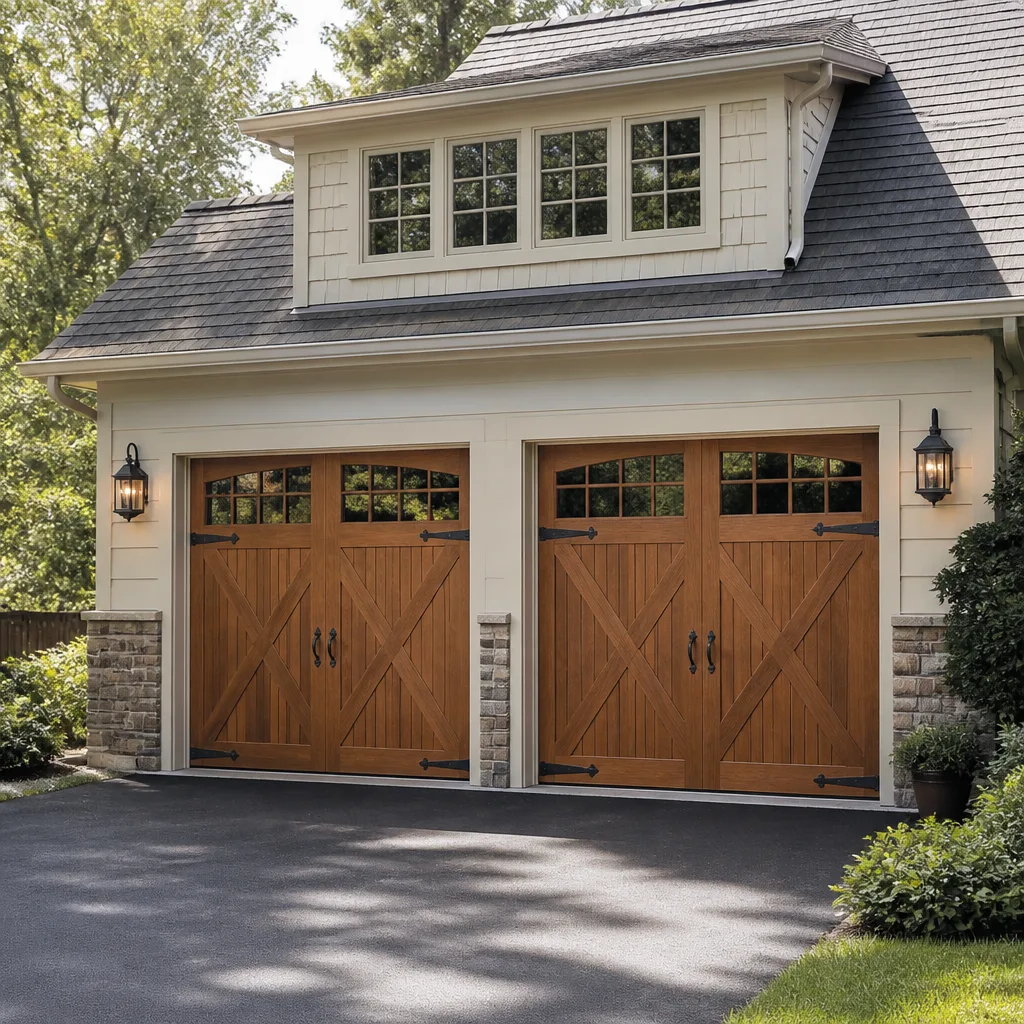 Carriage house
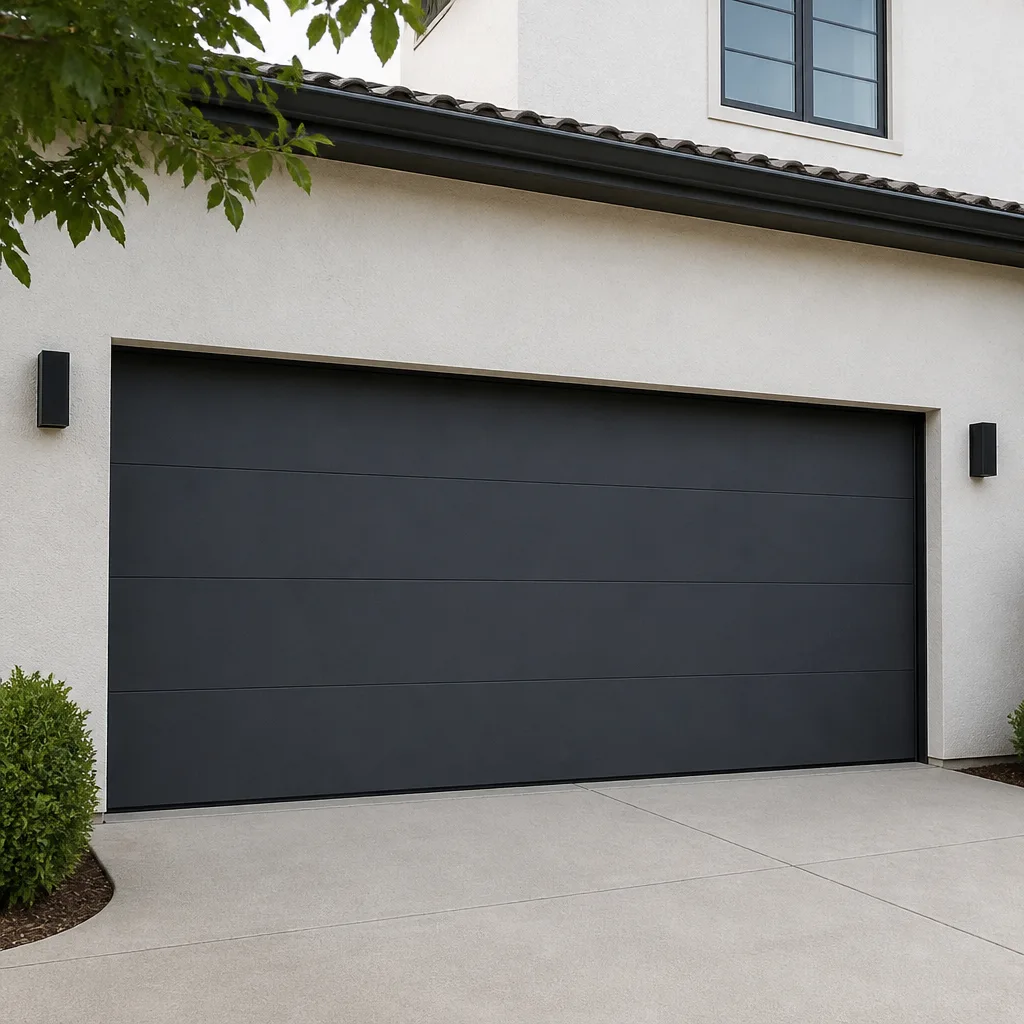 Modern flush
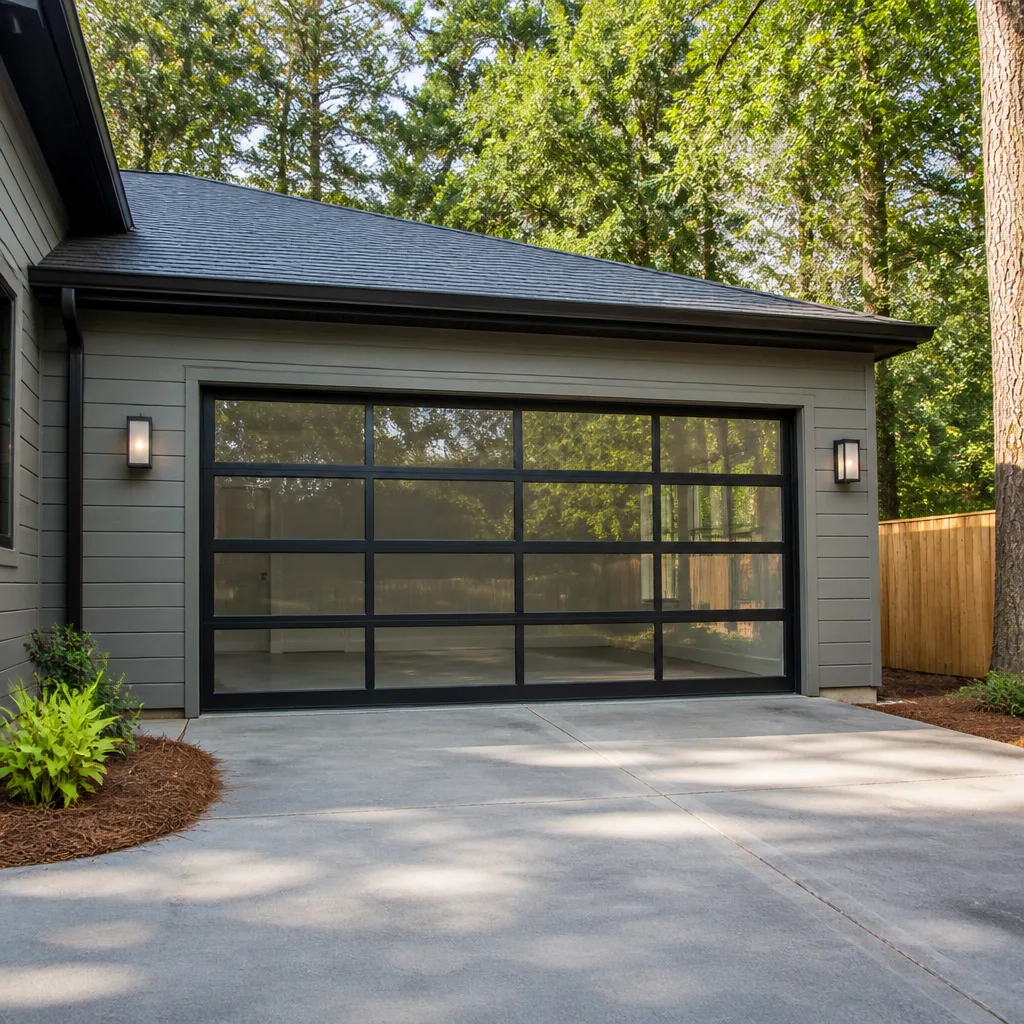 Full-view glass
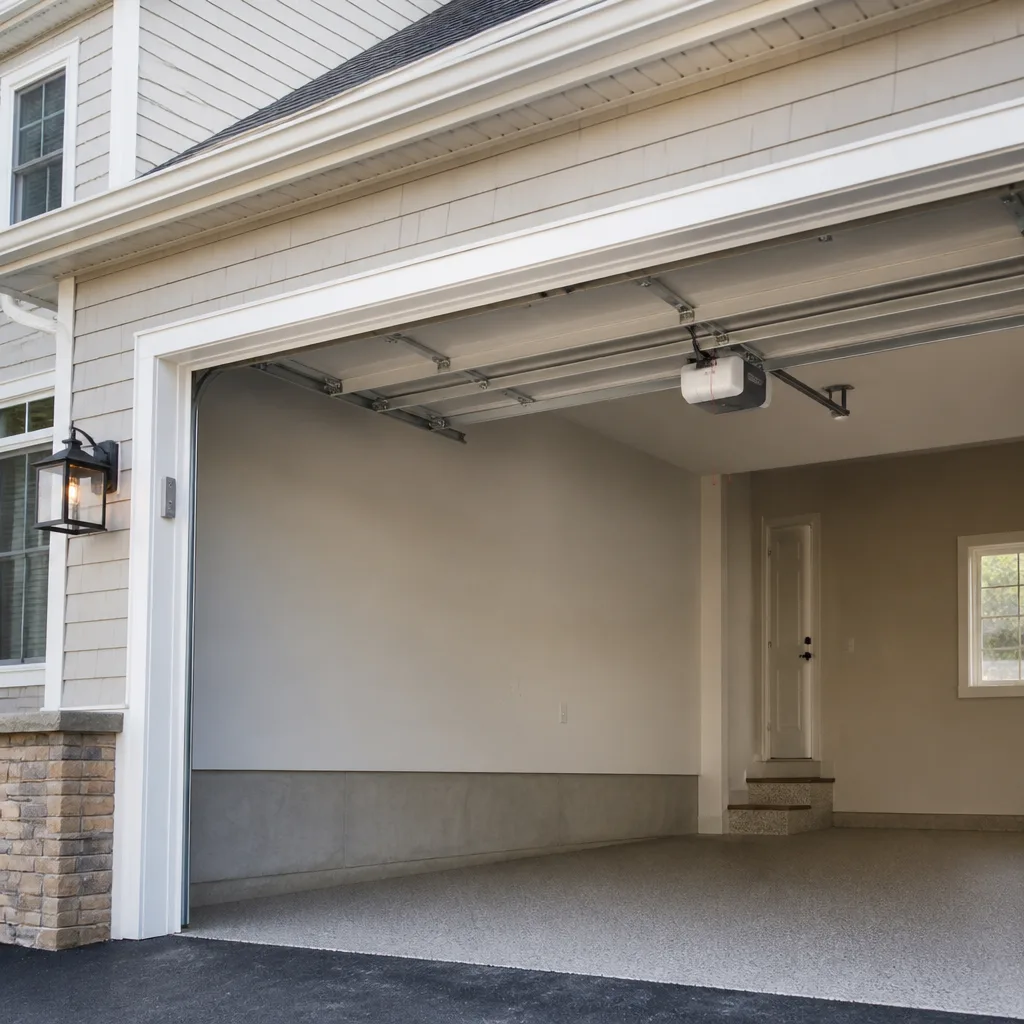 LiftMaster openers
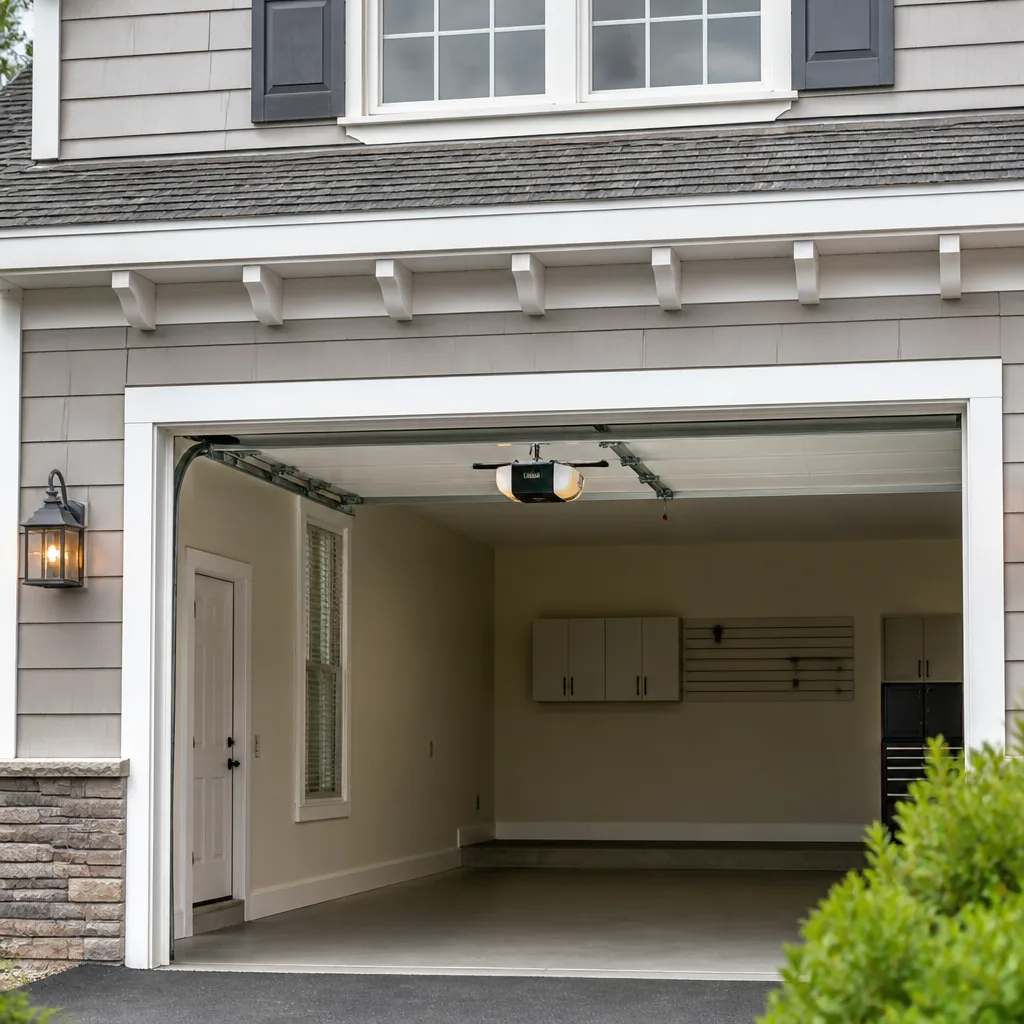 Chamberlain openers
Full 25-point door and opener safety check with every visit - springs, cables, rollers, tracks, and your LiftMaster or Chamberlain opener included
You get a price before we start. It does not change when the pro arrives.
Get your free estimateDIY vs Professional Garage Door: The Govans Homeowner’s Decision Guide
Most homeowner decisions about a garage door come down to one question, and it usually gets answered wrong: which jobs can I safely do myself, and which ones will hurt me? Torsion springs store enough mechanical energy to break a wrist or take out an eye when they release unexpectedly. That’s physics, not a liability disclaimer. Unlike a leaky faucet or a squeaky hinge, a garage door doesn’t reward confidence with a learning curve. It rewards the wrong tools with an injury. This guide draws the DIY/pro line task by task, using what we’ve learned servicing doors across Govans, so you can skip the guesswork and keep the money you’d have spent on a mistake.
Quick Answer
Adjusting safety sensors, lubricating hinges and rollers, weatherstripping, and programming a remote are safe homeowner jobs. Anything involving the torsion spring, torsion cables, drums, or the motor’s internal wiring is technician territory, because those parts hold energy that can release without warning. A door that won’t close, a snapping sound, or a cable that’s off its drum means stop and call. In Govans, that call goes to us at (877) 378-7082.
Every job we take starts with a free estimate and a written price agreed before any work begins. No surprises on the invoice.
Styles & brands we work with
- Raised-panel steel
- Carriage house
- Modern flush
- Full-view glass
- LiftMaster openers
- Chamberlain openers
Table of Contents
- How a Garage Door Holds Energy: The Physics Behind the Safety Line
- Homeowner-Safe Tasks: What You Genuinely Can Do
- Technician-Required Work: The Spring, the Cables, and the Board
- Break-Even Math: Your Time vs. Labor on Common Repairs
- The Tools Spring Work Demands and Why You Shouldn’t Buy Them for One Job
- When a DIY Attempt Goes Wrong Mid-Job
- Brand-Specific Diagnostics: Why a LiftMaster Panic Isn’t a Genie One
How a Garage Door Holds Energy: The Physics Behind the Safety Line
A typical residential garage door weighs more than most people expect, and the spring is the counterweight. On a well-balanced door, the spring acts as a lifted brake through every inch of travel: roughly half the closed door’s weight gets offset so the opener and the person lifting it by hand only handle the remainder. That balance is what makes one hand enough.
When the spring is under tension, however, it’s also at its most volatile. A torsion spring is wound dozens of turns and held in that state for the door’s entire working life. The set screws, cables, and drums are the only things standing between that stored energy and the garage floor. That’s why a spring failure is sudden, loud, and loud enough to bring neighbors to their driveway in a way no other home repair announcement is.
What does this mean for a Govans homeowner? A garage is often the main entrance to a home in this neighborhood, especially where driveways feed directly into a kitchen or mudroom. You use that door several times a day, so you notice the little signs. In our experience, a stretched spring announces itself as a lurch when the door starts moving; a worn torsion cable announces itself as a dull snap or a visible fray at the drum.
A spring’s stored tension is the single most dangerous element in the whole garage door system. If you learn nothing else from this guide, remember: never place your hands near the winding cones, the set screws, or the torsion bar while the spring is under any tension at all. This applies whether or not you’re touching the spring itself.
Homeowner-Safe Tasks: What You Genuinely Can Do
We’re not going to tell you to call a technician for every loose bolt. A handful of maintenance tasks genuinely belong to the homeowner, provided you’ve checked that the door is balanced and the door is in the down position when you start.
- Lubrication. Rollers, hinges, and the track can be wiped down and lubricated with a garage door spray lube or a white lithium alternative. This halts a lot of squeaks and groans. Don’t lubricate the torsion springs if you’re unsure what’s wet and what’s not; leave those for a technician. If you’re unsure, lubricate the hinges and the rollers only.
- Safety sensor alignment. The two small sensors near the floor at each side of the opening emit infrared beams. If a child or a pet (or a shovel) shifts one, the door will reverse or refuse to close. A gentle adjustment with the mounting bracket usually resolves it. A screwdriver and a steady hand is the whole kit.
- Weatherstripping. The rubber or vinyl strip that seals the bottom of the door to the concrete can dry, crack, and curl as it ages. Replacing it is a homeowner-level job: pull the old strip from the channel, slide in the new one, and confirm the door seals without compressing too hard on the concrete. In Govans, the bottom seal takes a beating from the freeze-thaw cycle in winter and gets no relief in a humid summer.
- Remote and keypad programming. Adding a code, syncing a remote, and resetting a keypad follow the maker’s manual. LiftMaster, Chamberlain, and Genie all publish clear instructions, and a quick search on the model number will find the right sequence. If the remote dies after programming succeeds, that’s often the opener’s logic board, not the remote.
- Visual inspection. Take five minutes to look at the springs and the cables. If you see a physical gap in the coil or a wire that’s visibly kinked or frayed, you’ve found the problem. Don’t handle it yourself, but note it. That note saves a technician diagnostic time and gives you the vocabulary for a phone call.
Note: if your door is older or you see rust or significant wear on the springs, don’t attempt the weatherstripping job until a technician has checked the balance. The door has to stay in position while it’s open, and a compromised spring means it won’t.
Technician-Required Work: The Spring, the Cables, and the Board
Here’s the definitive split, task by task, and the reason each one is where it is. We work on the brand you already have, from Raynor and LiftMaster to Chamberlain and Genie, and the classification doesn’t change by brand: it changes by the energy the part holds.
| Task | Homeowner-safe? | Why |
|---|---|---|
| Lubricate rollers, hinges, tracks | Yes | No stored energy if the door is down and balanced |
| Align safety sensors | Yes | Low-voltage beams, no moving force |
| Replace bottom weather seal | Yes | No tension on the part being replaced |
| Program a remote or keypad | Yes | No moving machinery |
| Adjust the opener’s force or travel limits | No | A mis-set limit can reverse or force the door into the frame |
| Replace the torsion spring | No | Full-wound tension; uses winding bars and a controlled release |
| Replace a torsion cable | No | Cable is under spring tension even when the door is down |
| Replace the torsion tube or drums | No | Whole spring assembly must be de-tensioned first |
| Repair or replace an opener’s logic board or motor | No | Live 120V wiring, board-level diagnosis |
| Replace rollers on a door with an unrepaired spring | No | Any movement on a failed spring can release the door |
For any of the “no” tasks, don’t stop at “be careful.” Stop entirely. If a spring has already snapped, don’t try to raise or lower the door by hand or force the opener to run. The door can drop, or the remaining spring can fail while you’re reaching for the handle.
Break-Even Math: Your Time vs. Labor on Common Repairs
This is where most DIY reasoning goes off the rails. Homeowners compare the price of a part to the price of a job and skip the hours they’ll spend, the tools they’ll need, and the chance they’ll do it twice. We’ve seen three versions of the same calculation go wrong in Govans, so here’s the honest math.
- Weatherstripping. The material runs a modest amount at any hardware store. You’ll spend the better part of an afternoon on a two-car door if you measure and trim correctly the first time. It’s a fair use of a Saturday.
- Sensor misalignment. You’re likely looking at ten minutes if you can see which sensor has moved. This is not a job to pay for.
- Remote programming. Five minutes if you have the model number and manual. Fifteen if you’re guessing. Either way, free.
- Opener board failure. You can diagnose this yourself in ten minutes only if you already have a meter and know what a continuity test looks like. If you don’t, the diagnosis alone is a paid call. The part may run more than a couple of hours of a technician’s time, and the risk of buying the wrong board for your model (Genie, Chamberlain, and LiftMaster boards are not interchangeable) is high.
- Spring replacement. There’s no break-even here. This is not a cost arithmetic problem; it’s a safety line. The cost of the tools alone for a one-time job, and the injury risk, make it the one repair that doesn’t belong on a DIY list at all.
For the repairs that do belong on the list, add up the hours you’d spend and multiply by what an hour of your weekend is worth to you. That’s a more honest comparison than part cost versus labor. For full pricing on a repair, we offer a free estimate, and the estimate we give you is what you’ll pay.
The Tools Spring Work Demands and Why You Shouldn’t Buy Them for One Job
Most homeowners who decide to tackle a spring replacement online buy the wrong toolkit. The parts of a proper spring kit are specific and the stakes are high. What actually goes into a safe torsion spring job:
- Two solid steel winding bars, sized to the winding cone. These are sold in pairs and used to hold the spring tension while adjusting the cone set screws.
- A winding bar extension or a proper holding method to control the release of tension when the spring gets wound down. Losing control of a winding bar mid-release is one of the ways people break wrists.
- Dead-blow or brass hammers for seating the winding cone, not a standard claw hammer, which can bounce or slip.
- A calibrated torque wrench for the set screws and a correct-size socket set. Loose set screws on a wound spring are a follow-on failure.
- A set of locking pliers and a vice grip to hold the torsion tube steady, since the tube will roll the moment the spring tension is off.
- Proper eye protection and heavy work gloves. These aren’t optional here, and the correct PPE matters more than the brand.
Add up the cost of that kit and you’ll usually spend more than a single spring repair’s labor, and you’ll own a set of tools you’ll probably never use again. And the tools don’t remove the risk; they’re the minimum requirement for it. If you already have the tools and the training, the calculations change. For everyone else, buying them for one repair is a net loss on both time and safety.
When a DIY Attempt Goes Wrong Mid-Job
It happens more than people admit. A weatherstripping job turns into a door that won’t seal. A sensor adjustment leaves the door reversing every few inches. A remote reprogram fails and now the opener blinks a fault code. Here’s what to do in sequence:
- Stop. Whatever it is, put the tools down and stop moving the door. If the door is partly open or the spring may be under tension, don’t touch it, don’t push it, don’t ask someone else to lift it.
- Secure the opener. If the door is closed, unplug the opener from the wall and pull the manual release handle toward the back of the track. That disengages the trolley and takes the opener out of the equation. Don’t engage or disengage a release handle on a door with a failed spring unless the door is fully down.
- Block the door if it’s open. If the door is stuck open and the springs are intact, place a sturdy object (not your body, not a chair) under the bottom edge so the door can’t come down. Then call us and don’t try to close it alone.
- Gather the right information. Note what you were doing when it failed, what you hear, what you see (a gap in the spring, a cable off its drum, a blinking code on the opener), the model number on the opener’s label, and how the door feels now. That package gets a technician to the fault faster and is the difference between a same-day fix and a follow-up visit.
- Call. We answer 24/7. Fast dispatch from 7am to 7pm, Sunday through Friday. A call outside dispatch hours gets booked into the next opening.
Don’t try a reset from the manual if the door is in a failed state. If the opener is a newer smart model from LiftMaster or Chamberlain, unplugging it won’t reset the door’s mechanical state, and it isn’t supposed to. That state belongs to a technician.
Brand-Specific Diagnostics: Why a LiftMaster Panic Isn’t a Genie One
One of the reasons DIY opener repair gets messy is that the same symptom on different brands produces completely different clues. We work on eight brands, and the diagnostic routes genuinely differ. A few examples from our shop:
- LiftMaster and Chamberlain share a lot of electronics, and their wall control units tend to give useful feedback when the opener is reporting a fault. A blinking light pattern on the wall control usually points to the sensor, the travel limits, or the logic board, in that order. That’s a diagnostic path, not a shortcut.
- Genie openers often pair with a different remote architecture, so a remote that suddenly stops working might need re-sync, not replacement. Resetting a Genie unit doesn’t work with the same sequence as a LiftMaster, and the wrong sequence can lock a code setting.
- Raynor and Clopay doors often pair with the openers installed by a prior contractor, which means a homeowner has no record of the exact model. Reading the label on the opener is the fastest way to a correct part, and the same label tells your technician which diagnostic path to take.
Opener work is not a guessing game. We read the brand, we read the year the unit was made if the label gives us that, and we diagnose to the board before we quote. That’s the whole point of knowing the brands by name rather than treating the opener as a generic box on the ceiling.
If you’ve narrowed the problem to the opener, you can book a garage door opener repair. For a door that’s failed on the door side of the system, a garage door repair. And if the door itself is beyond repair and you want a decision on a new one, garage door installation starts with a measure and a written price. Our full service list sits on the Garage Door Repair Govans page if you’d rather browse it than call.
Common Mistakes to Avoid
- Buying a spring kit before reading the model. Springs are matched to door weight and height, and a mismatched spring fails early or throws the door out of balance. Measure the door and the label before you order anything. If you can’t read the label, that’s a sign a technician should measure it.
- Trying to lift a door with a failed spring. The opener is not a substitute for a spring, and neither is a shoulder. A door with a snapped spring can drop mid-lift. Stop, secure it, and call us.
- Adjusting the opener’s force setting upward to get a stuck door moving. That setting exists to trigger a reversal when the door meets resistance. Raising it defeats the safety function and can bend a track, a panel, or both. Adjusting force is a technician job.
- Lubricating the springs or the track. Springs and tracks are usually left dry. Lubricant on the springs collects grit, and lubricant on a torsion spring can cause the coils to bind.
- Skipping the safety-sensor check after any repair. Sensors are the only thing between a closing door and a child or a pet. Test them after every repair by blocking the beam and watching for the door to reverse. In a Govans summer, a sensor’s low-voltage wiring can get hot and loose; the check takes seconds.
- Assuming a long-out-of-commission remote needs a new opener. A remote can fail and need nothing more than re-pairing. Try a fresh battery and a resync before you price an opener replacement.
- Not writing down what happened. The most useful thing you can give a technician is the moment of failure in words: what you heard, what the door did, and what you did after. Without that, the first ten minutes of a service call is detective work.
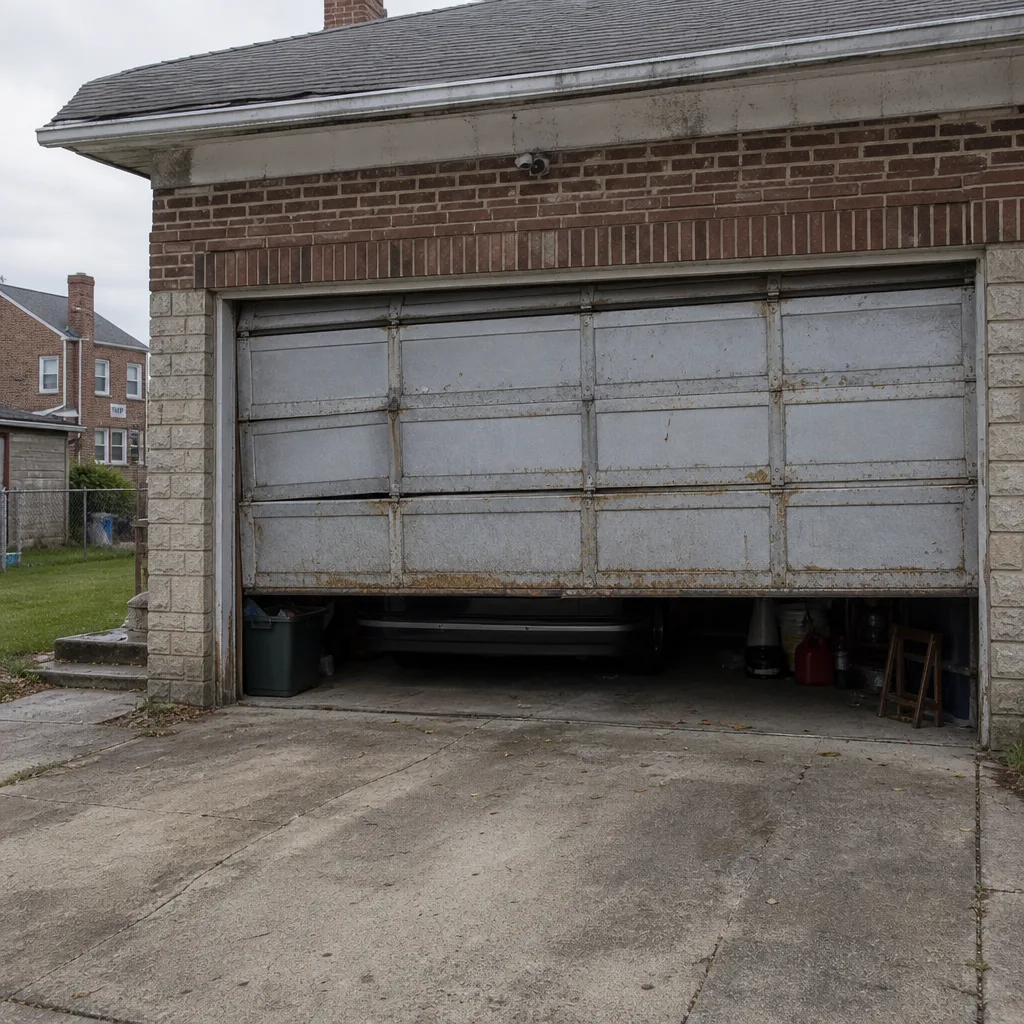
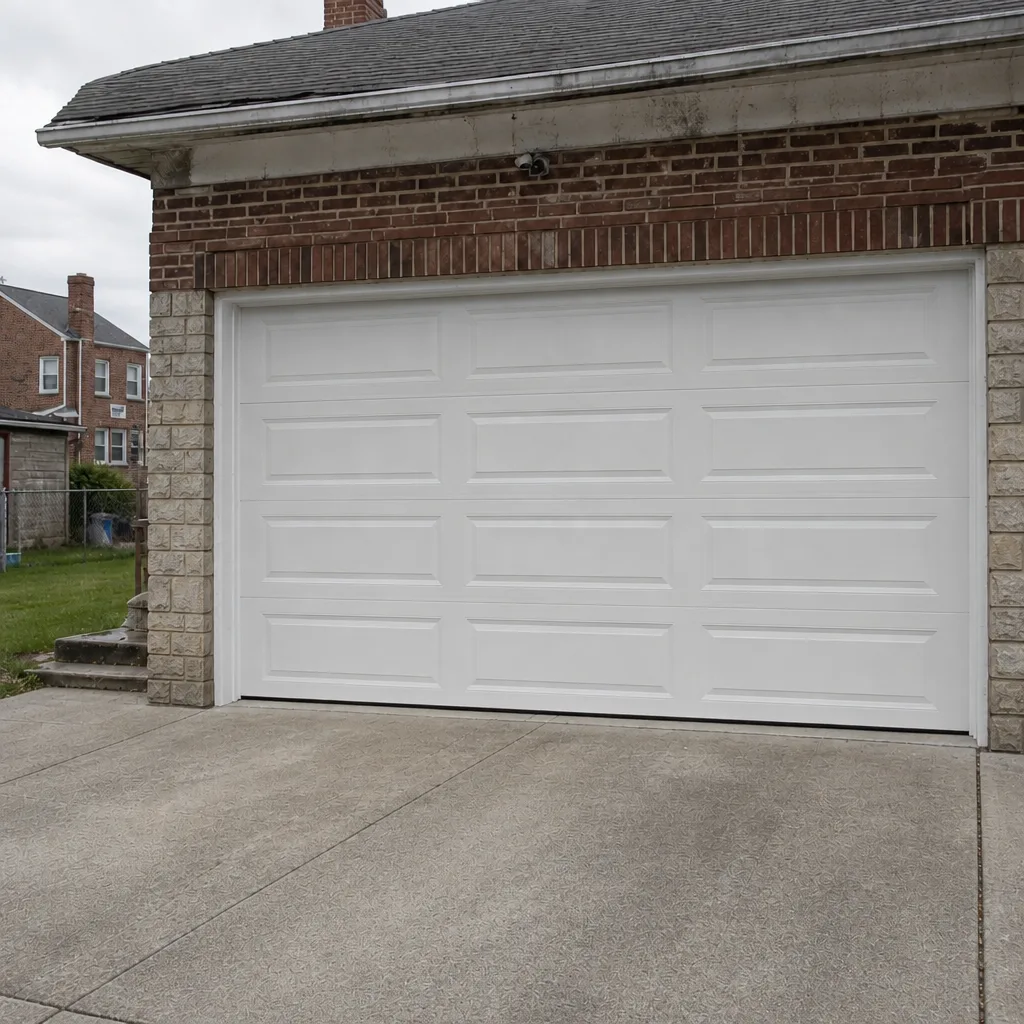
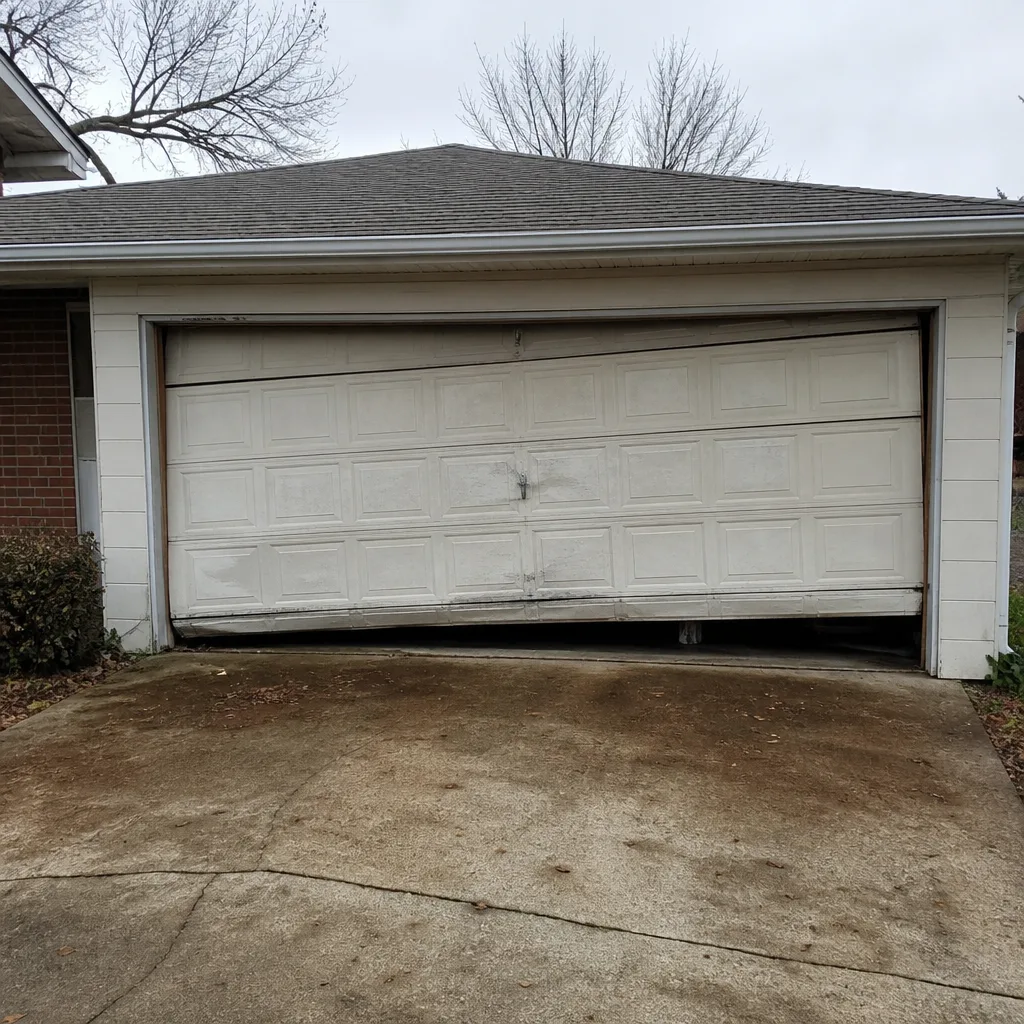
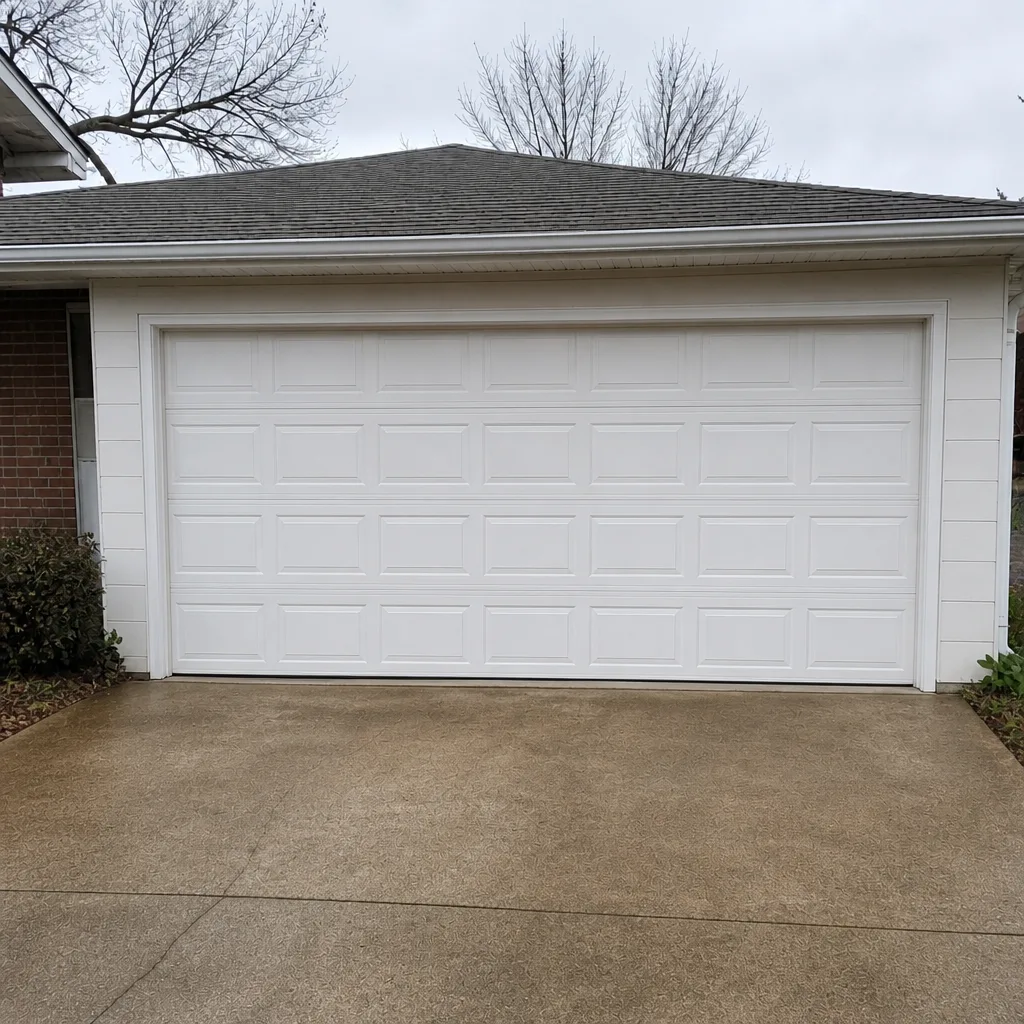
See the difference
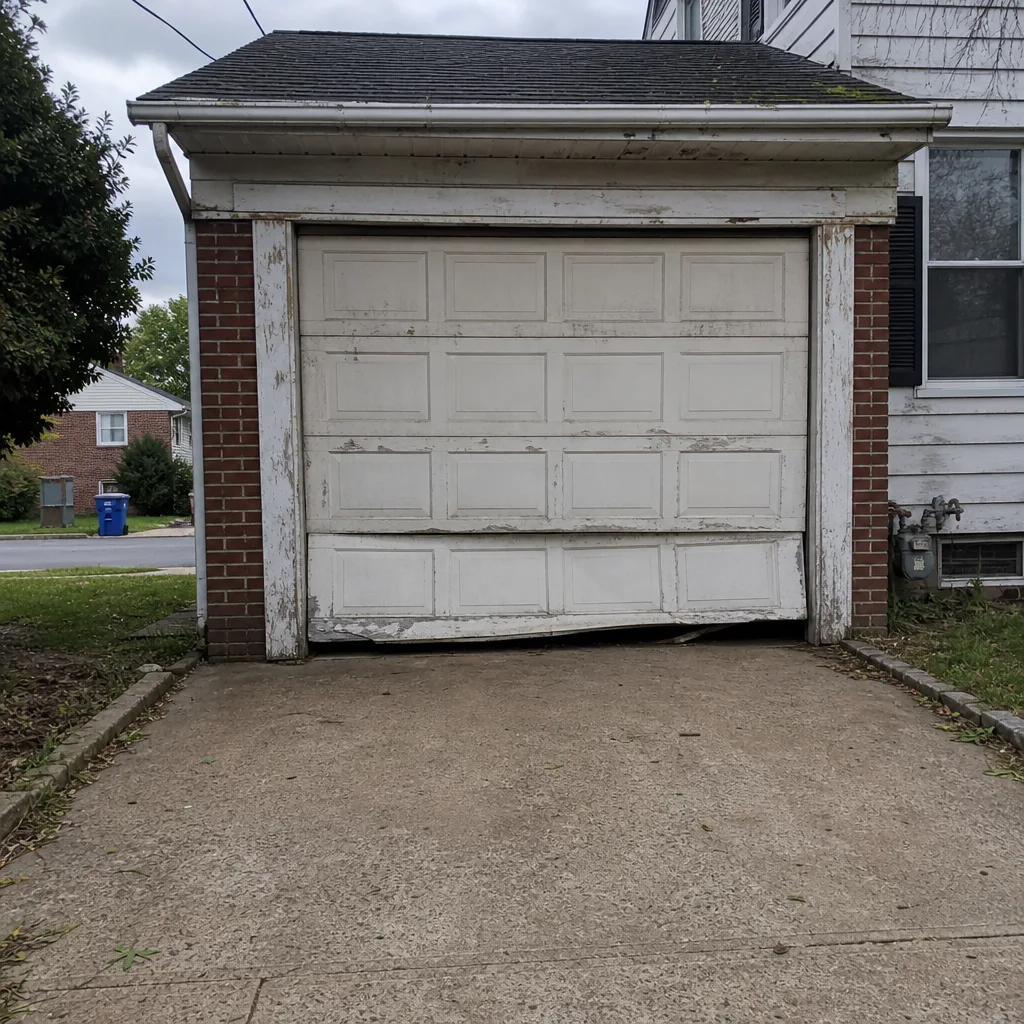 Before
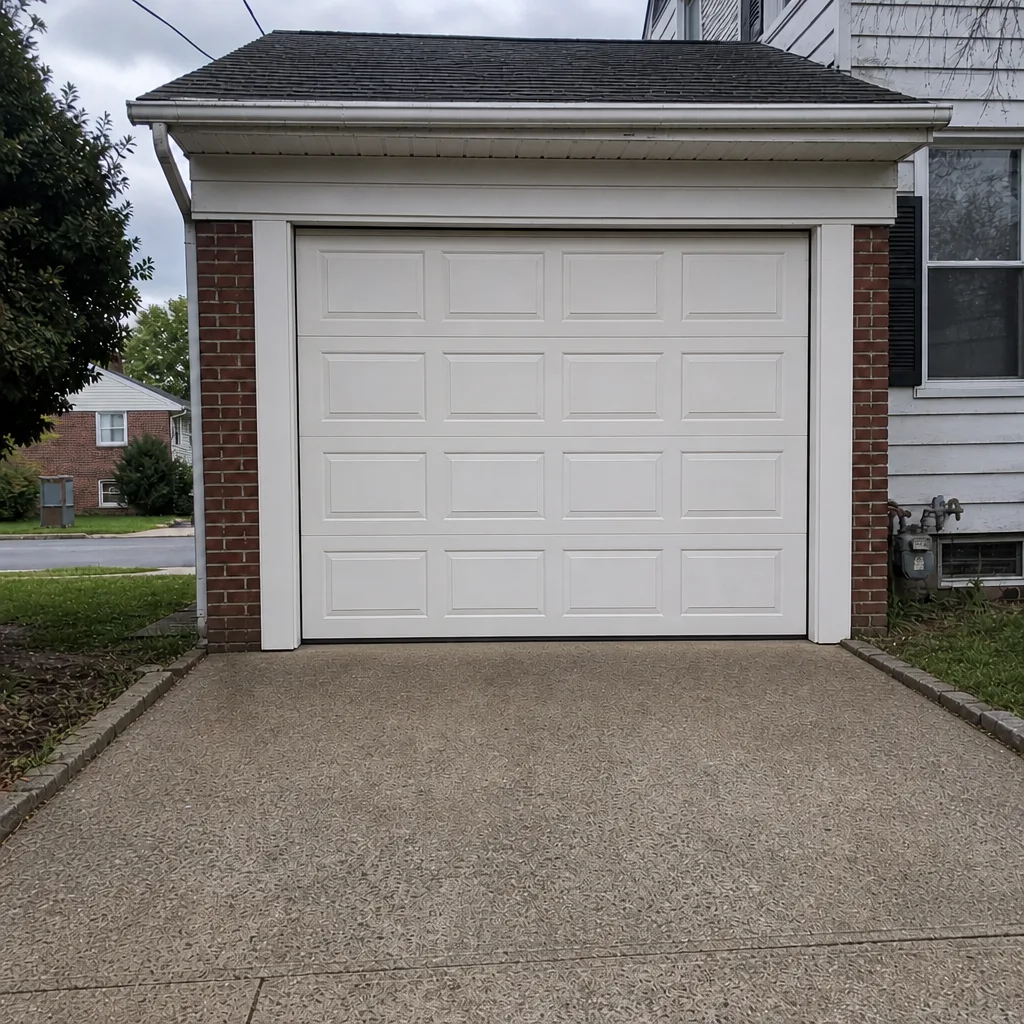 After
 Before
 After
 Before
 After
When to Call a Professional
If the trouble involves a spring, a cable, a drum, the torsion tube, or the electrical side of the opener, call. If a door is stuck part way and won’t close, call and keep the family clear of the opening. If an opener has tripped a breaker, or if you see a spark or smell burning near the motor or the wall control, stop using the door and call. And if a repair you started is making the door worse, not better, park the tools and call with the model number, the symptom, and what you were doing when it happened. We work on the brands you already have and we arrive prepared.
Garage Door Repair Govans offers free estimates in Govans – call (877) 378-7082. We answer 24/7. Fast dispatch from 7am to 7pm, Sunday through Friday. Our technicians have up to 10 years of experience and are state-licensed and insured as their state requires. Every job is quoted and agreed before work starts, and the written estimate sets the price. The local pro is licensed and insured as their state requires.
Frequently Asked Questions
No. A torsion spring replacement involves full-wound spring tension, and a controlled release requires four solid steel winding bars, dead-blow hammers, and training to keep control if a bar slips. The risk of injury is serious, and most homeowners don’t own the tools. Spring repair done right is a technician job, and it’s the one garage door task we never recommend for DIY.
Lubricating the rollers and hinges, aligning the safety sensors, replacing bottom weatherstripping, and programming a remote or keypad are all homeowner-safe when the door is balanced and down. Avoid springs, cables, drums, torsion tubes, and any adjustment inside the opener’s cover. Call (877) 378-7082 for an exact quote on the rest – estimates are free.
Often, yes. A sensor that’s been bumped out of alignment makes the door reverse or refuse to close, and a gentle bracket adjustment usually fixes it. If the sensors look aligned and the door still won’t close, or the opener is flashing a fault code, call (877) 378-7082 and we’ll diagnose it. Estimates are free.
Pricing is per spring, and most doors carry a matched pair, so a pair is about twice a single spring. Spring jobs are quoted per door based on your door’s weight and height, and the written estimate sets the final price. Call (877) 378-7082 for an exact quote – estimates are free.
No. Travel-limit settings determine how far the door travels before the opener stops or reverses, and a wrong setting can force the door into the frame or leave a gap. This is an opener job for a technician. If you’ve changed them and the door is behaving strangely, call (877) 378-7082. Estimates are free.
Stop moving the door and unplug the opener. If the door is fully closed, leave it closed and block it. If it’s stuck open and the springs are intact, put a sturdy object under the bottom edge. Then call (877) 378-7082 with the opener’s model number and what happened. We answer 24/7 and can book a same-day visit. Fast dispatch from 7am to 7pm, Sunday through Friday.
Yes. We work on the brand you already have, including Raynor, LiftMaster, Chamberlain, Genie, Clopay, Amarr, Wayne Dalton, and Craftsman. Brand-specific diagnostics means we read the model and the fault before we quote, not after. Call (877) 378-7082 for a free estimate.
The Bottom Line
Fix what’s safe, and call on what isn’t. The DIY line on a garage door isn’t about skill; it’s about stored energy. Lubrication, weatherstripping, sensor alignment, and remote programming are worth your Saturday. Springs, cables, drums, torsion tubes, and opener internals belong to someone who’s done the job with the right tools and has the training to keep control if something slips. If you’re in Govans and you’re somewhere in the middle, call us. We offer free estimates, work on eight major brands, and our technicians have up to 10 years of experience. Every quote is written and agreed before work starts. Call (877) 378-7082. We answer 24/7. Fast dispatch from 7am to 7pm, Sunday through Friday.
Written by the team at Garage Door Repair Govans.